|
Contents Page
|
| Viewing the Arrangements |
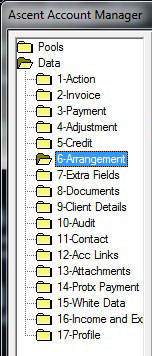 |
You can view the
arrangements on an account by selecting the
Arrangement
folder in the left hand frame of the Account
Manager Screen.
The details of any arrangements applied to the
account will display in the bottom frame as
shown below. The arrangements can be sorted by
clicking on the column headers. |
|
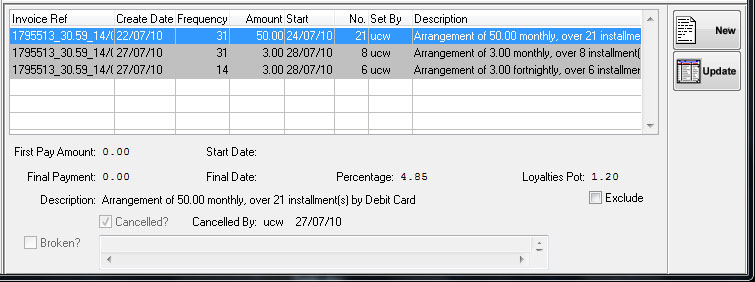 |
In the browse
section above greyed out arrangements indicate a
cancelled arrangement. When selecting one
of the arrangements the fields below the browse
will populate with data relevant to that
particular arrangement.
If the account is part of an Ascentive Loyalties
Scheme the "Loyalties Pot" displays how much this
account has accrued in loyalties. The "Exclude"
check button below allows you to exclude this
account from the scheme.
(For details on Ascentive Loyalties see the
Ascentive Loyalties Section in the
administration manual). |
|
| |
| Creating an Arrangement |
The Arrangement screen can be launched by clicking on the
"NEW"
button located at the top right hand side of the
Arrangements browse. You may leave this screen
at any time by clicking the "CANCEL" button.
The first setting you may define here is "Apply
To" where you will select the invoice you wish
to apply the arrangement to. Generally there
will be only one invoice.
Holding Payment:
You may enter a holding payment for the arrangement in this
section. If you wish to set a holding
payment enter an amount in the "Start Payment"
box then right click in the "Start Payment Date
(?)" and select a date the holding payment
should be received by.
The "End Payment" box can be populated with the
final instalment amount if there is a residual
amount left over when the arrangement is
calculated. A date can be entered in the
"End Payment Date (?)" box by right clicking an
selecting the date.
Arrangement:
For the arrangement firstly enter a
payment code into
the "Payment Type(?)" box. You may right
click in this box and select the relevant code
from the browse. |
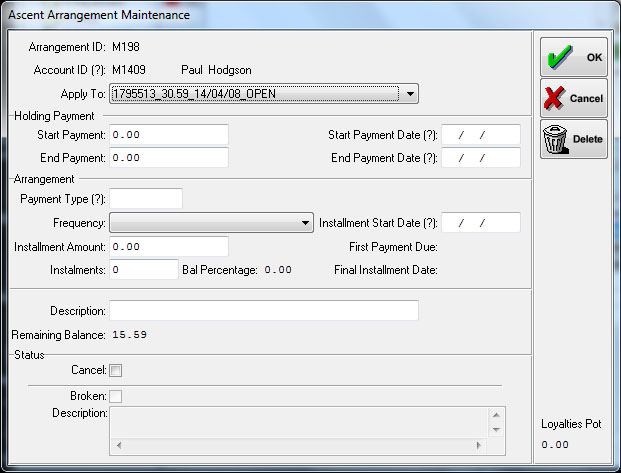 |
Next select the
frequency of the arrangement. Click in the
"Frequency" box and choose from the drop-down
menu.
Enter a date for when you wish the instalments
to begin. Right click in the "Instalment
Start Date (?)" box and select a date. The
"First Payment Due" area will be populated with
the date that the first instalment will be due
including the pay delay.
Enter the amount to be paid for each instalment
in the "Instalment Amount" box. The number
of "Instalments", "Bal Percentage" and the
"Final Instalment Date" will automatically be
calculated from entering the above details.
If you change the number of Instalments the
"Instalment Amount" will change to suit the new
calculations.
The "Description" box will default to details of
the arrangement, however you may enter your own
description here if you wish. The
"Remaining Balance" shows the balance of the
account after the arrangement details have been
entered.
Status:
For use when updating an arrangement (See
below).
Click on the "OK" button to save your changes. |
|
| |
| Updating / Deleting an
Arrangement |
You may update an
arrangement by double clicking on the arrangement
displayed on the Account Manager Screen or by selecting
the arrangement and clicking on the "UPDATE" button
located below the "NEW" button. Only the
arrangement description field is editable in the update
mode.
The "Cancel" check box allows you to cancel this
arrangement. The name of the user cancelling the
arrangement and the date are recorded.
The "Broken" check box indicates if the arrangement has
broken due to a payment not being received.
Click on the "OK" button to save your changes.
Simply delete the adjustment by clicking on the "DELETE"
button. |
|
Contents Page
|